The Night Everything Changed
The story goes—and those who know the family swear it's true—that in a small-town bakery during hard times, a baker's daughter stayed up all night in the kitchen trying to save her father's business. The shop had been losing customers to a fancier place across town, and her father had all but given up. She had one idea: a chocolate cake so magnificent, so undeniably perfect, that people would have no choice but to return.
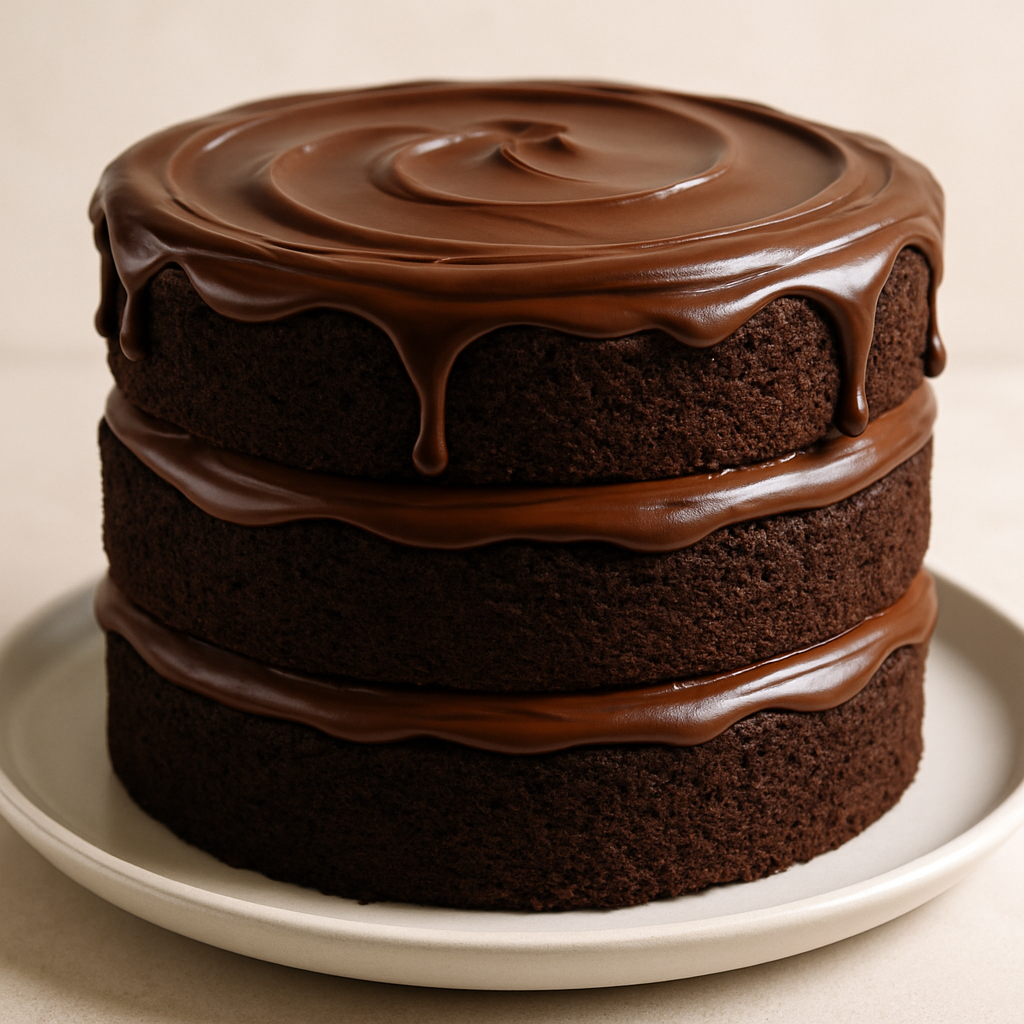
She started with what she knew: good cocoa, fresh eggs, butter she'd saved from her household budget. She layered the cake three times—triple the drama, triple the promise. Between each layer, she spread a silky semi-sweet ganache, a bridge of pure chocolate luxury. And then, as the cake cooled to room temperature, she poured a dark chocolate ganache over the top, letting it cascade down the sides like a chocolate waterfall.
The next morning, the first customer who bit into that cake started talking. Then the next one. By the end of the week, there was a line out the door.
Why Three Layers Work
There's a reason this cake has endured in memory and in kitchens. Three layers aren't just dramatic—they're mathematically generous. Each layer is thin enough to bake through evenly, moist enough to hold together, and sturdy enough to support the weight of the ganache above. The baker's daughter understood this without knowing the science: more layers mean more opportunity for richness, more structural support, more generosity on the plate.
The recipe starts with a marriage of flavors that define the cake: cocoa powder and hot brewed coffee. That coffee isn't a whisper—it's deliberate. Coffee amplifies chocolate's depth, making it taste more like itself. The batter itself becomes thin when the hot coffee is stirred in; don't panic. This isn't a mistake. The extra liquid ensures the cakes stay moist during baking and won't turn hard or dense as they cool.
Building the Layers: Technique and Patience
The magic starts with butter and sugar creamed until light and fluffy—this step takes a full 3 to 4 minutes, not less. You're aerating the mixture, creating thousands of tiny air pockets that will give the cake its tender crumb. Skip this or rush it, and you'll notice immediately: the cake will be dense, heavy, lacking the delicate structure that makes three layers feel possible.
When you add the eggs, go one at a time. Each egg should be fully incorporated before the next arrives. This prevents the batter from breaking and ensures even distribution of moisture.
The flour mixture—whisked together with cocoa powder, baking soda, baking powder, and salt—is your dry scaffold. The alternating method (flour mixture, then sour cream, flour mixture, sour cream, flour mixture) keeps you from overworking the batter. Overmixing develops gluten, and gluten makes cakes tough. Mix only until you can no longer see dry streaks of flour. Then stop.
Baking to Perfection
Three pans, divided evenly, go into a 350°F oven for 30 to 32 minutes. The toothpick test is your best friend here: insert it in the center of one cake. When it comes out with just a few moist crumbs—not wet, not completely clean—you've hit the mark. Overbaked chocolate cakes turn bitter and dry. This recipe walks the line between fudgy and fully set, and that's where the moisture lives.
Let the cakes cool in their pans for 15 minutes (this prevents breakage), then turn them onto racks and cool to room temperature. Don't rush this step. Warm cakes are fragile, and warm cakes will melt the ganache before you're ready.
The Two Ganaches: Understanding the Difference
Here's where the recipe branches into two personalities.
The semi-sweet ganache (between the layers) uses a 1:1 ratio of chocolate to cream by weight. This creates a ganache that sets up fairly firm—thick enough to spread like frosting, stable enough to support the next cake layer on top. The cream is heated until it steams, then poured over the chopped chocolate and left undisturbed for 2 minutes. This resting period is crucial; it allows the heat to gently melt the chocolate. Then you whisk until glossy and smooth. Cooled to room temperature before use, it becomes spreadable, forgiving, and absolutely delicious.
The dark chocolate ganache (the final layer) tells a different story. More cream (¾ cup instead of ½), plus butter, creates a thinner, more pourable consistency. It's meant to cascade, to pool, to create that glossy finish that makes people gasp when they see it. This ganache cools for only 5 minutes before pouring—still warm enough to flow, but cool enough that it won't slide off the cake entirely. The butter adds richness and helps the ganache set with a slight sheen rather than a matte finish.
The Final Assembly
Place your first cake layer on a serving board or plate. Using an offset spatula, spread about ⅓ cup of the cooled semi-sweet ganache over the top, working gently from the center outward. Set the second layer on top, press lightly to level, and repeat. The third layer crowns the cake.
Now comes the moment of theater: slowly pour the warm dark ganache over the top center of the cake and let gravity do the work. You're not forcing it; you're inviting it to flow. If you want an even coat, a gentle sweep with an offset spatula will coax it where it needs to go.
Refrigerate for at least 30 minutes. This gives the ganaches time to set just slightly, so when you slice the cake, you get clean edges and layers that don't slide. But don't chill it too long; a cake served ice-cold tastes less like cake and more like cold chocolate. Room temperature, with perhaps a 30-minute chill, is the sweet spot.
Why This Cake Endures
The baker's daughter's cake worked because it honored chocolate without apology. Every component—the cocoa-forward cake, the silky filling, the glossy top—speaks the same language. Three layers make it feel abundant without being heavy. The combination of semi-sweet and dark chocolate gives you both sweetness and sophistication in the same bite.
Bake this for someone you want to impress, or bake it because you've earned it. Either way, you're continuing a story that began in a kitchen when everything was on the line and one person decided to make something beautiful anyway.
Ready to cook it? View the full recipe with step-by-step instructions — and let Mise, your AI sous chef, plan it into your week.